
Printing a book on a normal printer at home might sound like an ambitious project, but it is entirely possible with the right approach. This blog post will guide you through the process, covering the essential steps and considerations to ensure your homemade book looks professional. Whether you’re printing a novel, a family history, or a personal journal, understanding the intricacies of home printing can help you achieve impressive results.
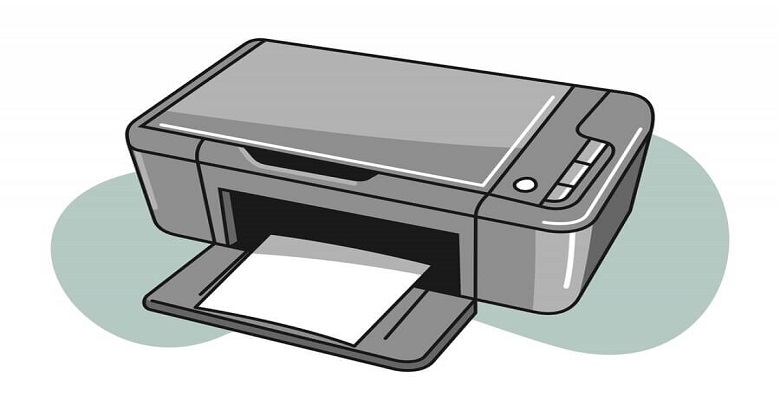
What’s Your Printer Type?

Before diving into the technicalities of book printing, it’s crucial to understand your printer’s capabilities. Most home printers fall into two categories: inkjet and laser printers.
- Inkjet Printers: These are versatile and generally better suited for printing images and color documents. They are more affordable for small print runs but can be slower and more expensive per page for larger projects due to ink costs.
- Laser Printers: These are ideal for high-volume text printing. They offer faster printing speeds and lower cost per page but are typically more expensive upfront. Laser printers excel in producing sharp, clean text, making them a good choice for text-heavy books.
Preparing Your Manuscript
The preparation of your manuscript is a critical step. Here’s a breakdown of what you need to do:
- Formatting: Ensure your manuscript is properly formatted. Use a word processor or typesetting software like Microsoft Word, Google Docs, or Adobe InDesign. Pay attention to margins, fonts, and line spacing. Standard book dimensions are 6” x 9”, but this can vary depending on your preference.
- Proofreading: Before printing, thoroughly proofread your manuscript. Even minor errors can be distracting to readers. Consider using grammar and spell-check tools, and if possible, have someone else review your work.
- Page Numbering: Insert page numbers, ensuring they are correctly aligned and consistent throughout the document. The front matter (title page, copyright page, etc.) often uses Roman numerals, while the main content uses Arabic numerals.
- Headers and Footers: Include headers and footers with relevant information like the book title, chapter titles, or author name. This adds a professional touch.
- Images and Graphics: If your book includes images or graphics, ensure they are high resolution (at least 300 dpi) to prevent pixelation. Adjust the placement and size to fit within your page margins.
Printing Your Book
Once your manuscript is ready, the next step is printing. Here’s how you can approach it:
- Test Print: Print a few test pages to check the quality and alignment. This step helps you make necessary adjustments before committing to the entire book.
- Double-Sided Printing: To save paper and achieve a professional look, print on both sides of the paper. Most modern printers have a duplex printing feature. If your printer doesn’t support this, you can manually flip the pages.
- Paper Quality: Choose the right paper. Standard printing paper (20 lb) is sufficient for most projects, but for a more professional feel, consider using heavier paper (24 lb or 28 lb). For color images, glossy or semi-gloss paper can enhance the visual quality.
- Printing in Batches: If you’re printing a large book, do it in smaller batches to avoid overloading your printer and allow for easier handling and error correction.
Binding Your Book
After printing, the next step is binding your book. There are several methods to consider:
- Staple Binding: Suitable for smaller booklets. Fold the printed pages in half, stack them, and staple them along the fold.
- Comb Binding: Uses plastic combs to hold the pages together. This method allows the book to lay flat when open, which is useful for manuals or cookbooks.
- Wire-O Binding: Similar to comb binding but uses metal wire. It’s more durable and allows for a professional look.
- Perfect Binding: This is the method used for most paperback books. It involves gluing the pages together at the spine. You can achieve this at home with a hot glue gun and a clamp, but it requires precision and patience.
- DIY Hardcover: For a more durable and professional finish, you can create a hardcover. This involves attaching your printed pages to a cardboard cover wrapped in decorative paper or fabric. It’s more time-consuming but delivers impressive results.
Cover Design
A well-designed cover is essential for any book. Here are some tips:
- Design Software: Use graphic design software like Adobe Photoshop, Illustrator, or Canva to create your cover. Ensure it matches the dimensions of your printed pages, including an extra margin for bleed.
- High-Resolution Images: Use high-quality images and graphics to avoid pixelation.
- Typography: Choose fonts that are readable and match the tone of your book. The title should be prominent, and any additional text (author name, tagline) should be clearly legible.
- Spine Design: If your book is thick enough, design the spine with the book title and author name. Ensure the text is centered and readable.
- Printing the Cover: Print the cover on heavier paper or cardstock for durability. If possible, use a printer with color capabilities to enhance the visual appeal.
Assembly and Finishing Touches
Once you have printed and bound your book, there are a few final steps to ensure a polished product:
- Trimming: If pages extend beyond the cover, use a paper cutter to trim the edges for a clean, uniform look.
- Pressing: Place your book under a heavy object for a few hours to press the pages and ensure the binding is secure.
- Quality Check: Flip through the book to check for any printing errors, misaligned pages, or binding issues. Correct any problems before finalizing your book.
Conclusion
Printing a book on a normal printer is a rewarding endeavor that combines creativity with technical skill. While it requires careful planning and attention to detail, the process is straightforward and uses the right tools and knowledge. By understanding your printer’s capabilities, preparing your manuscript meticulously, and choosing the appropriate binding method, you can produce a professional-looking book from the comfort of your home. Whether it’s a personal project or a small print run, the satisfaction of holding a self-printed book in your hands is unparalleled. Happy printing!
Frequently Asked Questions
1. Can I print a book on a regular home printer?
Yes, you can print a book on a regular home printer. The key is to ensure your manuscript is properly formatted, choose the right paper, and follow best practices for double-sided printing. Binding options like staple binding, comb binding, or even DIY hardcover binding can give your book a professional finish.
2. What type of paper should I use for printing a book at home?
For text-heavy books, standard 20 lb or 24 lb paper works well. If your book includes images or graphics, consider using heavier paper (28 lb) or glossy paper for better print quality. The choice of paper can enhance the durability and appearance of your book.
3. How do I ensure my book looks professional?
To ensure your book looks professional, pay attention to formatting, proofreading, and page numbering. Use high-resolution images, select appropriate fonts, and consider adding headers, footers, and a table of contents. Proper binding and a well-designed cover also contribute to a professional appearance.
4. What are the best binding methods for a home-printed book?
Several binding methods are suitable for home-printed books, including staple binding, comb binding, wire-O binding, perfect binding, and DIY hardcover binding. Each method has its pros and cons, so choose one based on the thickness of your book and the desired durability and appearance.
5. How do I design a cover for my home-printed book?
Design your book cover using graphic design software like Adobe Photoshop, Illustrator, or Canva. Ensure the cover matches the dimensions of your printed pages, and use high-resolution images and readable fonts. Include a spine design if applicable, and don’t forget to add a back cover with a synopsis and author bio. Printing the cover on heavier paper or cardstock can enhance its durability.